
Growing autoflowering cannabis plants can be a rewarding and relatively straightforward experience, especially for beginners. Unlike traditional photoperiod cannabis plants, autoflowers automatically transition from the vegetative to the flowering stage based on age rather than light cycles. This article will guide you through the entire process of growing autoflowering cannabis plants, from selecting the right seeds to harvesting your crop.
1. Understanding Autoflowering Cannabis
Autoflowering cannabis plants are bred from Cannabis ruderalis, a species native to regions with harsh climates and short growing seasons. These plants have evolved to flower based on age rather than changes in light exposure. As a result, autoflowers are typically smaller, faster-growing, and more resilient than photoperiod strains.
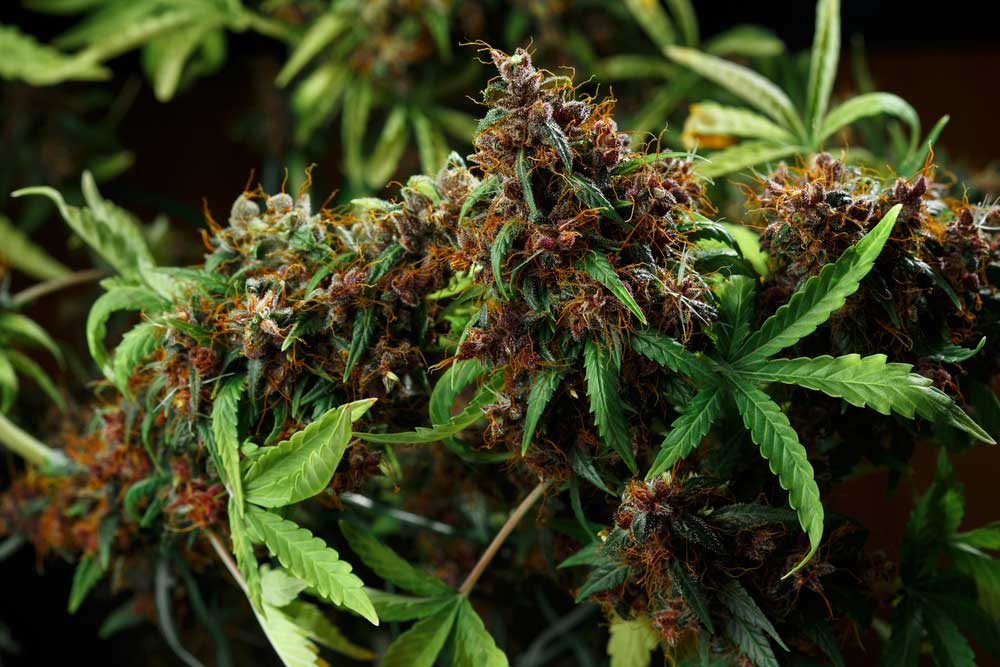
Advantages of Autoflowering Cannabis:
- Shorter Growth Cycle: Autoflowers can go from seed to harvest in as little as 8-12 weeks.
- Compact Size: Ideal for small spaces and stealth grows.
- Resilience: Better resistance to pests, diseases, and environmental stress.
Disadvantages of Autoflowering Cannabis:
- Lower Yield: Generally, autoflowers produce smaller yields compared to photoperiod plants.
- Less Control: Limited ability to manipulate the vegetative phase for larger plants.
2. Selecting the Right Autoflowering Seeds
Choosing the right seeds is crucial for a successful grow. Consider factors such as strain, yield, potency, and growing conditions.
Popular Autoflowering Strains:
- Blueberry Auto: Known for its fruity flavor and relaxing effects.
- Northern Lights Auto: Offers a high yield and strong, calming effects.
- Amnesia Haze Auto: Delivers a potent, uplifting high with a citrusy aroma.
Purchasing Seeds:
- Reputable Seed Banks: Buy from well-known seed banks with good reviews.
- Genetic Stability: Ensure the seeds are stable and bred by experienced breeders.
3. Setting Up Your Grow Space
Whether you’re growing indoors or outdoors, creating the right environment is essential.
Indoor Growing
Grow Tent:
- Provides a controlled environment.
- Reflective walls to maximize light.
Lighting:
- LED Lights: Energy-efficient, low heat, and full spectrum.
- CFL Lights: Cost-effective but less efficient than LEDs.
- Light Schedule: Autoflowers thrive under 18-24 hours of light per day.
Ventilation:
- Fans: Ensure proper airflow and prevent mold.
- Carbon Filter: Controls odor.
Temperature and Humidity:
- Temperature: Maintain 70-85°F (20-30°C).
- Humidity: Start with 60-70% during the seedling stage and reduce to 40-50% during flowering.
Outdoor Growing
Location:
- Choose a sunny spot with at least 5-7 hours of direct sunlight.
- Ensure the area is protected from strong winds and pests.
Soil:
- Use high-quality, well-draining soil.
- Consider adding perlite or vermiculite to improve aeration and drainage.
4. Germinating Your Seeds
Germination is the process of sprouting your seeds. There are several methods to choose from.
Paper Towel Method
- Moisten Paper Towels: Dampen two paper towels with distilled water.
- Place Seeds: Put seeds between the two moist paper towels.
- Store in a Warm Place: Keep the towels in a dark, warm area (70-85°F or 20-30°C).
- Check Daily: Seeds should sprout in 1-3 days.
Direct Soil Method
- Prepare Pots: Fill pots with moist, seedling-friendly soil.
- Plant Seeds: Place seeds 1/4 inch deep in the soil.
- Cover and Water: Lightly cover the seeds with soil and water gently.
Rockwool Cubes
- Soak Cubes: Soak rockwool cubes in distilled water with a pH of 5.5-6.0.
- Insert Seeds: Place seeds into the cubes.
- Keep Moist: Maintain moisture until seeds sprout.
5. Transplanting and Early Growth
Once your seeds have sprouted, it’s time to transfer them to their final growing medium.
Choosing Containers
Pot Size: Autoflowers do well in 3-5 gallon pots. Fabric Pots: Promote air pruning and root health. Plastic Pots: Ensure good drainage.
Soil Preparation
Nutrients: Use a light, nutrient-rich soil mix. pH Level: Maintain soil pH between 6.0 and 7.0.
Transplanting
- Gently Handle Seedlings: Be careful not to damage the delicate roots.
- Plant Depth: Place seedlings at the same depth they were in the germination medium.
- Watering: Water thoroughly after transplanting.
6. Vegetative Stage Care
Autoflowers have a short vegetative stage, typically 2-4 weeks.
Light
Provide 18-24 hours of light daily. Monitor for any signs of light stress or stretching.
Nutrients
Start with a low-dose nutrient solution. Focus on nitrogen-rich fertilizers to support leaf growth.
Watering
Water when the top inch of soil feels dry. Avoid overwatering to prevent root rot.
Training Techniques
Low-Stress Training (LST):
- Gently bend and tie down branches to create an even canopy.
- Improves light penetration and increases yield.
Defoliation:
- Remove some of the large fan leaves to improve airflow and light exposure.
- Be cautious not to over-defoliate, as autoflowers have limited recovery time.
7. Flowering Stage Care
Autoflowers transition to the flowering stage around 3-5 weeks old.
Light
Continue with 18-24 hours of light daily. Ensure the light spectrum supports flowering.
Nutrients
Switch to a bloom nutrient formula high in phosphorus and potassium. Gradually reduce nitrogen levels.
Watering
Maintain consistent moisture levels. Avoid water stress to prevent affecting bud development.
Monitoring
Check for signs of pests and diseases. Inspect for nutrient deficiencies or toxicities.
8. Harvesting Your Autoflowers
Knowing when to harvest is crucial for achieving the best potency and flavor.
Trichome Inspection
Use a magnifying glass or jeweler’s loupe to examine trichomes. Harvest when trichomes are mostly milky with some amber for a balanced high. Clear trichomes indicate immaturity, while mostly amber trichomes suggest a more sedative effect.
Pistil Method
Look at the pistils (hairs) on the buds. Harvest when 70-90% of pistils have darkened and curled in.
Flushing
Begin flushing with plain water 1-2 weeks before harvest. Helps remove any residual nutrients and improves flavor.
Harvesting
Cut plants at the base and remove large fan leaves. Hang plants upside down in a dark, cool, and well-ventilated space.
9. Drying and Curing
Proper drying and curing enhance the quality and potency of your cannabis.
Drying
Hang plants or branches in a dark room with 45-55% humidity and 60-70°F (15-21°C). Dry for 7-10 days until stems snap rather than bend.
Trimming
Remove remaining sugar leaves and trim buds. Use sharp scissors and handle buds gently.
Curing
Place trimmed buds in glass jars. Open jars daily for the first week to release moisture and prevent mold. Cure for at least 2-4 weeks for optimal flavor and potency.
10. Storing Your Cannabis
Proper storage ensures your cannabis remains fresh and potent.
Containers
Use airtight glass jars or vacuum-sealed bags. Avoid plastic bags, which can degrade the quality.
Conditions
Store in a cool, dark place away from direct sunlight. Maintain a stable temperature and humidity level.
Long-Term Storage
For long-term storage, consider freezing your cannabis. Use vacuum-sealed bags to prevent freezer burn.
Read Also : CBD for Pain Relief: A Natural Alternative
Conclusion
Growing autoflowering cannabis plants can be a fulfilling endeavor, especially with the right knowledge and preparation. By understanding their unique characteristics and following best practices for each growth stage, you can enjoy a successful harvest of high-quality buds. Remember to select the right seeds, create an optimal growing environment, and provide consistent care throughout the plant’s lifecycle. Happy growing!